Bike Detailing Page Two

Bearings are clean, plenty of lube and back together it goes! Ready for another 20 years! Clean cups and nuts really make it shine.
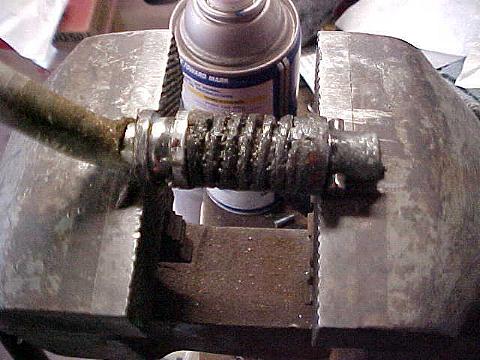
This looks pretty crusty. Nothing we can't clean! Steel wool and WD-40 will shine up that cad plating. WD will also help break up that hard grease on the spring and collar.

Much better now. Not perfect but real good looking!

As the parts for the sub-assemblies are cleaned, they can be reassembled. This way everything gets cleaned and no parts get lost.
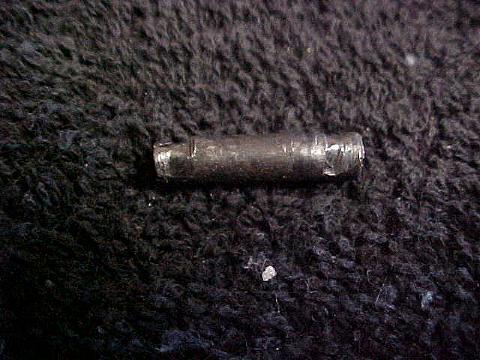
This pin is wasted so it is time to go to the parts drawer to find another. This is pretty typical for this pin to wear out.

Next the crank and chainwheel get shined up for reinstallation. Same procedure as the headset. Clean, degrease and polish using steel wool, brushes and WD-40.

Once clean, reinstall the assembly. Cleaning and installing the kickstand is easier to do with the crank assembly out of the way.

Now it is time to go after the rear wheel. I think I see rust!!

Yup, those ball bearings look a little orange. I don't see any pitting though.

A complete disassembly would be best. But why go through all of that if you don't have to. With a little patience, you can clean the wheel without removing spokes and having to relace. Just takes a little more attention to detail. Using a brush between the spokes works. So does reaching in with some polish and a rag.

Here is the polish I am using on this aluminum rear hub. Really brings the shine out. You could also use it on the chrome surfaces too.

Using a brush around the spokes helps too. Using a brass brush will help insure no scratches. Something that would be a greater possibility with the stainless brushes I have been using on the harder chrome surfaces.
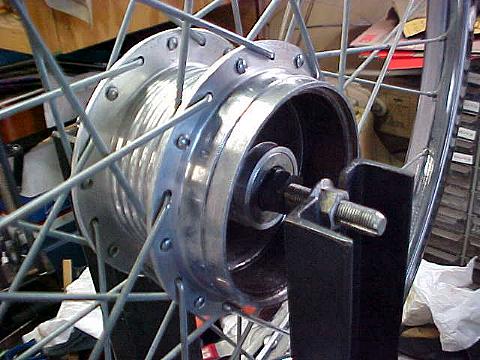
With the hub clean you can turn your attention to the axle. Degrease it, check the bearing surfaces, check the balls, slap a bunch of new grease in there and reassemble.

To clean the spokes, I again use steel wool and a slight amount of WD-40. To get that really shiny look, you would have to replace the spokes. Cad plating tends to be on the dull side but the steel wool shines it up a little bit.
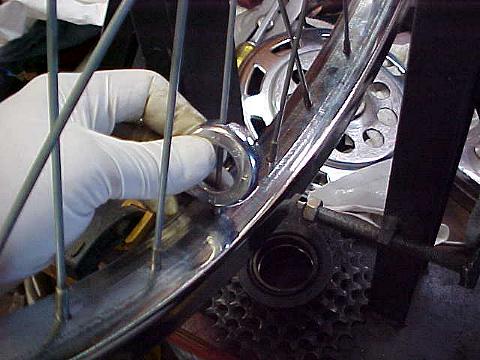
Now is also a good time to true up the wheel. Tighten up those loose spokes. Since this hub has a five speed cluster, one side of the spokes will be flatter than the other ( dished. )

Here is why we do a partial disassembly. It would be almost impossible to shine up the back side of the spoke protector while it is attached to the wheel. Now you are sure to have a good looking wheel.
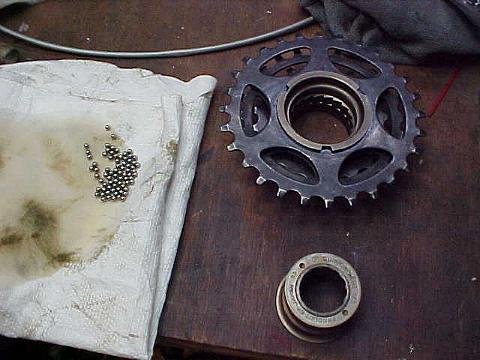
Here is another fun and necessary item to clean and relube. The cluster drive. Again, more orange bearings. But it cleaned up just fine. I used a lighter grease as opposed to the stuff I use in the axles. That way it will ensure that the drive will work properly.

When all the nooks and crannies are cleaned, it makes for a great looking hub!
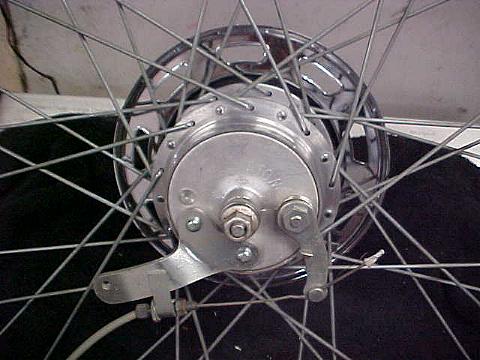
The aluminum is shined and clean and that spoke protector looks great from the inside.

Here is a real good cleaner concentrate.
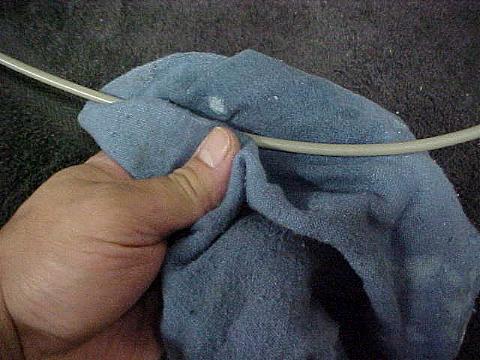
A little on a rag, scrub the cable housing a little and it will look darn near close to new. Find a cleaner that works for you.
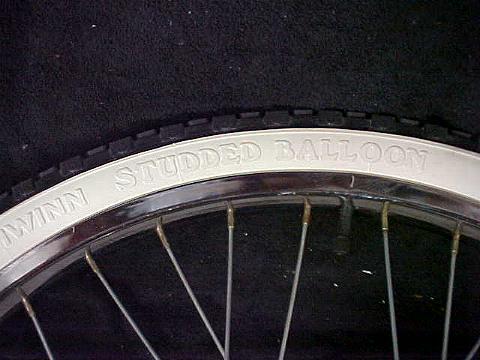
I had some NOS Studded Balloons and they seemed to be perfect for this project. I figure the white will look good against the black bike. Plus this was standard equipment when these bikes were first sold. You could either get white wall or black wall.

To clean up the reflector, I used the same window cleaner that I use on the chrome. A little scrubbing makes it shine pretty good. The brake handle was polished with Blue Magic. Taking off 20 years of oxidation really makes a difference! Well, on to the next item. There is plenty more to do, enough to keep us busy for a little while.

As you can see, as you finish the various pieces, the bike will start to take shape. Resist the urge to rush it now. You have taken your time so far, so stay on course. You will have plenty of time to ride later.
Bike Detailing Page Three
BUNCH "O" BIKES
BUNCH "O" BIKES UNDER CONSTRUCTION
BUNCH "O" BIKES NO LONGER WITH US
REPAIR AND RESTORATION TIPS
COOL LINKS
STUFF FOR SALE
Questions? Suggestions? Send an email
This Page Copyright (©)1999-2002 By MNSmith


